
Dreaming of a kitchen renovation but don’t know where to start? You don’t need to spend thousands on professional CAD software to see your vision come to life. Today’s free online kitchen planners are powerful, intuitive, and—best of all—accessible directly from your web browser. This guide empowers you to take the reins of your home improvement project from the comfort of your couch.
By following these steps, you will transition from a rough concept to a viable floor plan that balances aesthetics with architectural reality. Taking the time to visualize your space now prevents costly order errors and layout headaches during the installation phase.
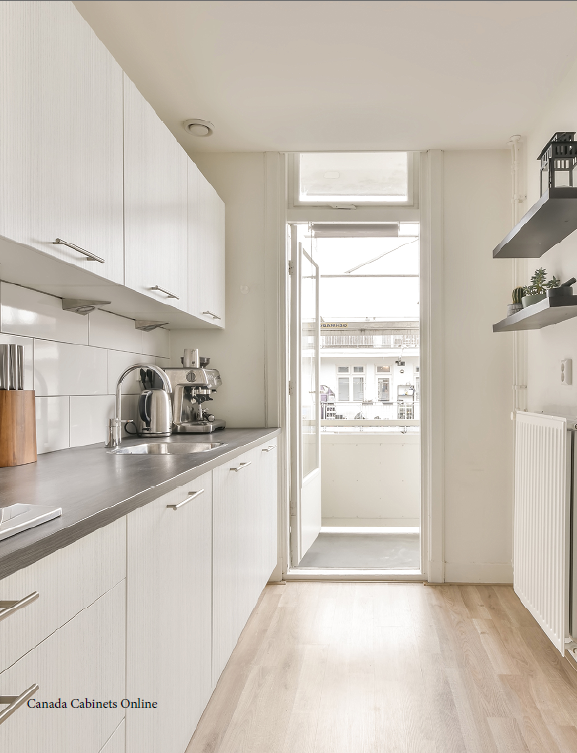
Canada Cabinets Online is the place to design your own kitchen layout free online. Contact us today to get started.
Measure Twice, Design Once: Accuracy in your initial room dimensions is the most critical step for a seamless fit.
The Golden Triangle: Always keep the sink, stove, and refrigerator in a functional triangular flow to minimize walking distance.
Think 3D: Use free tools to toggle between 2D floor plans and 3D renderings to understand the “volume” and “feel” of the room.
Account for Clearances: Remember that doors, drawers, and appliances need physical space to swing open without hitting islands or walls.
Expert Validation: A DIY design is a brilliant starting point, but always have a professional cabinet specialist review your plan before placing a final order.
Before opening any software, you need a “pencil and paper” map of your current space. Online tools are only as good as the data you feed them; even a half-inch discrepancy can prevent a cabinet from fitting into a corner.
Start by:
Measure from corner to corner, then record the distance from those corners to the outside edges of window and door casings. Don’t forget to mark the exact center point of your sink’s plumbing and the location of gas lines or 220V electrical outlets for the stove.
Finally, measure your ceiling height in at least three different spots to check for floor or ceiling slopes that might affect tall pantry cabinets or crown molding.
A precise physical measurement is the bedrock of a digital design that actually works in the real world.

The market is full of “free” tools, but they aren’t all created equal. You want a platform that balances ease of use with a wide library of standard cabinet sizes. Some tools are tied to specific brands, while others are “agnostic,” allowing you to design with generic dimensions that translate well to custom or semi-custom orders.
IKEA Kitchen Planner: Excellent for those using standard European-style sizing and wanting a quick, clean 3D visualization.
Planner 5D: Best for beginners who want a “drag and drop” experience with high-quality textures for flooring and countertops.
HomeByMe: Offers some of the most realistic 3D renderings available for free, making it perfect for color and material inspiration.
Lowe’s/Home Depot Planners: These are highly functional for mapping out North American standard cabinet widths (typically in 3-inch increments) and getting a rough budget estimate.
Selecting the right tool depends on whether you prioritize “pretty” 3D pictures or technical dimensional accuracy.
Have your kitchen professionally designed with Canada Cabinet Online using our advanced kitchen design software. You will even confer with our designer and receive a 3D rendering and product checklist for the most personalized experience.
Check out this video for some design inspiration to get you started.
Open your chosen tool and select “Create New Project.” Input your wall lengths precisely. Most tools allow you to click and drag walls or type in dimensions down to the fraction of an inch—ensure your “Global Settings” are set to Imperial (inches) if you are ordering in North America.
Drag and drop windows and doors onto the walls to match your physical sketch. Pay close attention to the “Window Sill Height” (the distance from the floor to the bottom of the window) to ensure your base cabinets and backsplash will fit underneath without obstruction.
Start with the “Big Three”: the sink, the range/oven, and the refrigerator. This establishes your workflow and ensures your plumbing and electrical points are addressed first. If you’re moving a sink or stove from its original location, keep in mind that this will increase your renovation budget due to utility relocation.
Begin in the corners with “Lazy Susans” or “Blind Corner” cabinets, as these dictate the placement of everything else. Fill in the remaining space with standard base cabinets (drawers or doors), then add upper (wall) cabinets to match. Be sure to leave at least 18 inches of vertical space between the countertop and the bottom of the upper cabinets.
Switch from the “Bird’s Eye” 2D view to 3D mode. Use the virtual “walk-through” feature to stand in the center of your kitchen. Check for “choke points”—is the walkway too narrow? Does the fridge door hit the island when opened? This is the moment to catch design flaws before they become permanent.
Following this sequence ensures that you build your design on a logical foundation rather than getting distracted by cabinet colors too early.
To ensure your kitchen isn’t just a pretty picture but a functional workspace, follow industry-standard ergonomic rules.
Adhering to these time-tested layout rules transforms a beautiful room into an effortless place to cook and gather.

Once you are happy with your free online design, it’s time to bridge the gap between “concept” and “construction.” Most free tools are meant for visualization, not for generating a technical manufacturing list. There are nuances like “filler strips”—small pieces of matching wood used to ensure a cabinet door can open 90 degrees without hitting a wall—that online planners often overlook.
Export your design as a PDF or save the project link. Create an itemized list of the cabinets you used (e.g., one 36″ sink base, two 24″ three-drawer bases). When you bring this to the experts at Canada Cabinets Online, we can take your creative vision and translate it into a professional, order-ready blueprint that accounts for every hinge, molding, and toe-kick.
Sharing your digital draft with a professional designer is the final safety net that ensures your dream kitchen fits perfectly on delivery day.
Designing your kitchen is an exciting journey of discovery. By using our free tools, you take control of the creative process while gaining a deep understanding of your home’s potential. When you’re ready to see your layout turned into high-quality cabinetry, we’re here to help you cross the finish line!
Ready to get started? Contact us today and let’s transform your space together!
The cabinets were of great quality. Solid wood construction. Easy to assemble. Service by Daniel was top-notch. Pricing was excellent. Very satisfied with the purchase. Will recommend them to anyone buying cabinets. Was a bit skeptical initially, as online commitment seemed risky for such a purchase. But I’m glad I trusted Daniel. Already placed another order for basement cabinets.
Aniruddh Vijayvargiya


